How To Turn A Shed Into A Tiny Home In Florida
Converting a shed into a tiny home in Florida involves several steps, including planning, obtaining necessary permits, and executing the conversion with attention to Florida’s specific climate and building codes. Here’s a comprehensive guide to help you through the process:
Step 1: Planning and Research
- Define Your Needs: Determine the primary use of the tiny house shed (e.g., full-time living, guest house, office).
- Research Local Building Codes and Zoning Laws: Check with your local municipality in Florida to understand the regulations, zoning laws, and permits required for converting a shed into a living space.
- Create a Detailed Plan: Sketch out a floor plan including the placement of walls, doors, windows, kitchen, bathroom, and living areas. Plan for plumbing, electrical, and HVAC systems.
Step 2: Budgeting and Purchasing
- Budget: Establish a budget for purchasing the shed and any additional costs for conversion.
- Research Sheds: Look for reputable shed manufacturers and suppliers in Florida. Consider the material (wood, metal, or vinyl) and customization options.
- Purchase: Place your order with the chosen manufacturer or supplier. Ensure all your customization needs are included.
Step 3: Site Preparation and Permits
- Site Preparation: Prepare the foundation where the shed will be placed. Options include concrete slabs, gravel pads, or pressure-treated wood bases.
- Permits: Apply for and secure all necessary building permits before starting the conversion. This includes permits for structural changes, electrical work, plumbing, and any other modifications.
Step 4: Structural Modifications
- Insulation: Install insulation in the walls, ceiling, and floor to ensure the space is energy-efficient and comfortable. Consider materials that are effective in Florida’s humid climate, such as spray foam or rigid foam insulation.
- Windows and Doors: Install energy-efficient windows and doors that can withstand Florida’s weather conditions, including hurricanes. Ensure they meet egress requirements for safety.
- Framing: Frame interior walls to create rooms as per your floor plan. Ensure proper spacing for electrical wiring and plumbing.
Step 5: Electrical, Plumbing, and HVAC
- Electrical Wiring: Plan and install electrical wiring for outlets, lighting, and appliances. Ensure compliance with local electrical codes and consider using a licensed electrician.
- Plumbing: Install plumbing for the kitchen and bathroom, including water supply lines, drainage, and ventilation. Consider using a licensed plumber.
- HVAC: Install a heating, ventilation, and air conditioning system suitable for Florida’s climate. Options include mini-split systems or portable units.
Step 6: Interior Finishing
- Drywall: Install drywall on the framed walls and ceiling. Tape, mud, and sand the joints for a smooth finish.
- Flooring: Choose and install flooring that suits your style and budget, such as laminate, hardwood, or tile. Consider moisture-resistant options due to Florida’s humidity.
- Painting: Paint the walls and ceiling with your chosen colors.
Step 7: Fixtures and Appliances
- Kitchen: Install kitchen cabinets, countertops, sink, and appliances. Consider using compact, space-saving appliances.
- Bathroom: Install the toilet, shower/tub, sink, and any necessary fixtures. Opt for space-efficient fixtures.
- Lighting: Install light fixtures throughout the house.
Step 8: Final Touches
- Trim and Molding: Install baseboards, window and door trim, and any other molding to give the space a finished look.
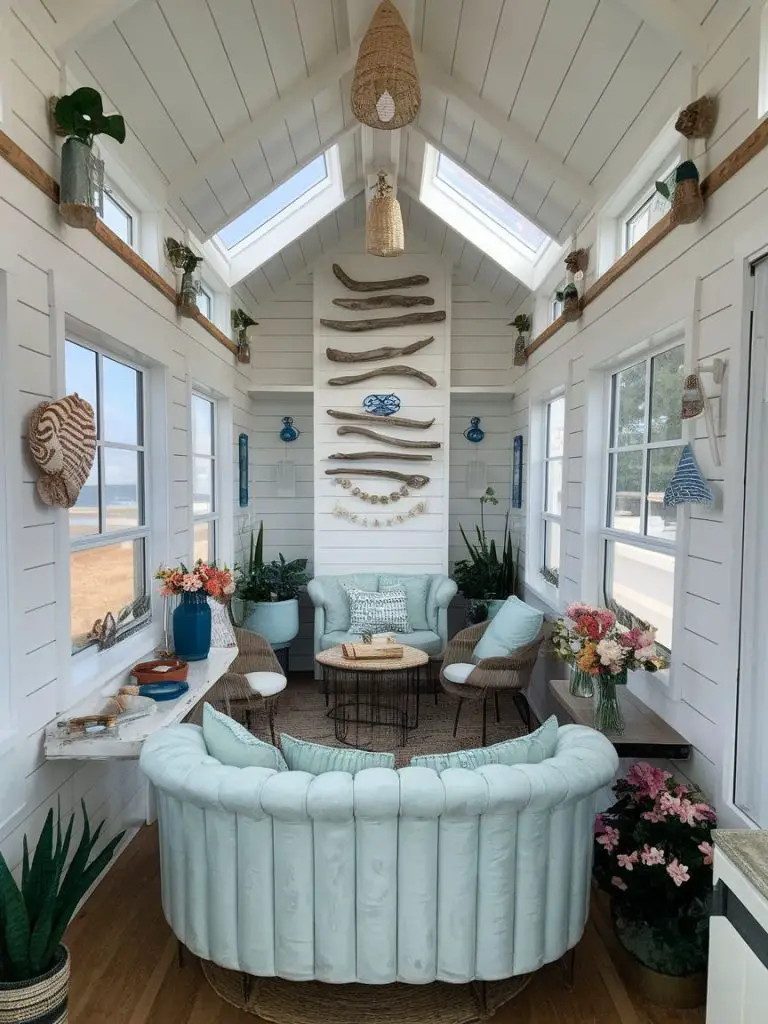
- Furnishing: Furnish the space with furniture, décor, and personal touches to make it feel like home. Consider multi-functional furniture to maximize space.
- Safety Features: Install smoke detectors, carbon monoxide detectors, and fire extinguishers. Consider adding hurricane straps or other reinforcements for storm safety.
Step 9: Inspection and Approval
- Final Inspection: Schedule a final inspection with your local building authority to ensure all work meets code and safety standards.
- Approval: Obtain a certificate of occupancy if required, indicating the space is safe and habitable.
Step 10: Move In
- Cleaning: Thoroughly clean the space before moving in.
- Move In: Move your belongings into your new tiny home and enjoy your new living space!
Tips
- Hurricane Preparedness: Ensure the structure is built to withstand hurricanes, including impact-resistant windows and reinforced roofing.
- Energy Efficiency: Choose energy-efficient appliances and LED lighting to reduce utility costs.
- Moisture Control: Use moisture-resistant materials and consider a dehumidifier to manage Florida’s humidity.
- DIY vs. Professional Help: Know your limits and hire professionals for tasks that require specific expertise, such as electrical and plumbing work.
By following these steps, you can successfully convert a shed into a comfortable and functional tiny home in Florida.


